All right, let's get this part on the road. We're almost done! (Yay!)
Supplies:
-I used one 3 ft. by 1 ft by 2 inch thick piece of white styrofoam. I saw this exact piece at Michael's and JoAnn's.
-I used Beacon's Hold The Foam glue, along with my now-old standby,
-Aleene's Fast Grab Tacky Craft glue (be warned-- I used almost a whole bottle on this part. Don't start this with only a partial bottle on hand).
-Floral decorating moss
-Fake flowers and ferns-- small enough or with small enough parts to be miniature and approximately in scale with the well
-Utility knife
-Steak knife
-Permanent marker
-Yard stick
-1-foot-square piece of cardboard
-An outdoor area and maybe a dust mask.
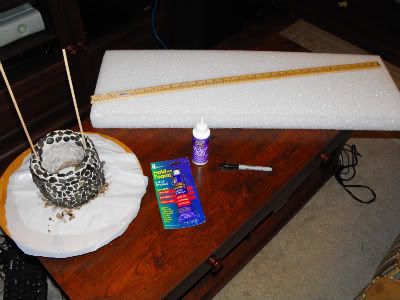
You can see most of the supplies here.
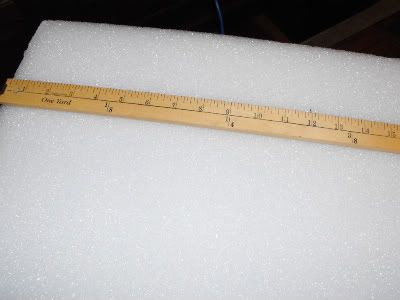
I measured and drew lines with the permanent markers to divide the foam into three 1-foot sections.
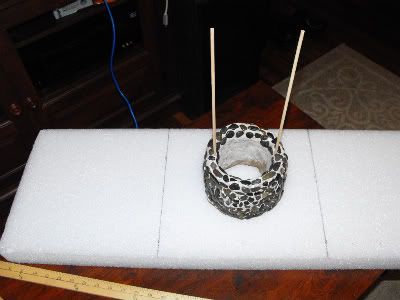
I set the well onto one of the sections to trace the inside of it with the marker onto the center of the foam. Doesn't matter which section.
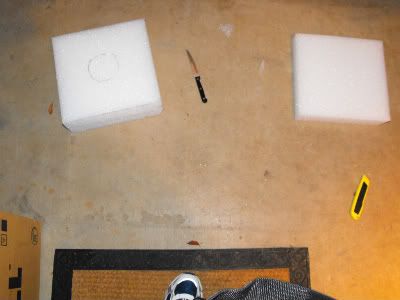
Then, I used the steak knife to cut the three big pieces apart. I only used two; you can use three if you really want it deeper but I think it would look unwieldy with the extra height. (I used the utility knife to cut the cardboard out).
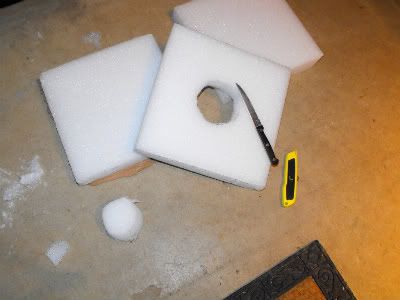
Then I sawed out the circle I'd traced on one piece of foam. You may have to do a little smoothing with the knife to get it even and not slanted. I didn't worry about making it look too pretty; hopefully it will be invisible. I traced the existing hole in the foam onto the second piece and cut that hole out too, checking a few times to see that the two holes mostly lined up and were fairly even.
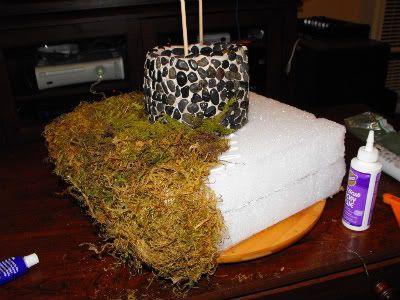
Then I made a sandwich. I glued one of the foam pieces with the foam glue to the cardboard square, thus making the bottom of the "well". Then I glued the other foam piece on top of the first one. Then I glued the well over the hole, all still with the foam glue. After this, I slathered a section of the foam in the Fast Grab tacky glue and started to tear pieces of moss (and also glue them, for added insurance that they would stick) and cover the foam with it.
I wish I had thought to spray paint the foam green beforehand. It would have made the whole "mossing" process much easier. Also, another note: the moss is very messy! It comes complete with dirt and sticks and leaves straight from nature. I suggest doing this outdoors or in an easily cleanable area, and in clothes you don't really care about.
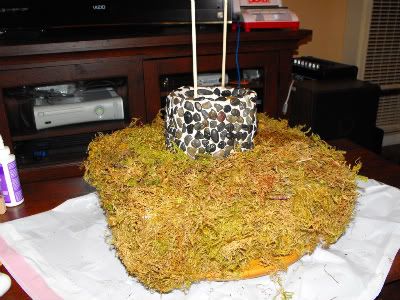
And here we have the completely moss-ed foam.
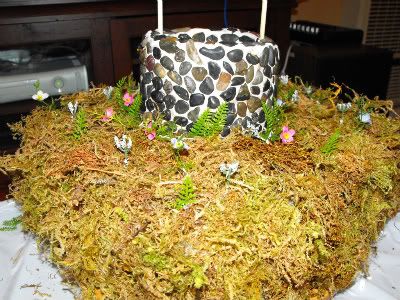
To finish, I just glued the ends of and stuck in little pieces of fake fern and mini flowers I found in the floral section at Michael's. Now it's growing! Yay!
Learn From My Mistakes:
-If I had to do this over again, I would spray paint the foam a similar green to the moss beforehand. There are little white places peeking out all over that I'm sure no one else can see, but are bugging me no end.
-I would have put a dot of glue on each of the pebbles as I stuck them in the clay the first time around instead of having to let them fall out and then glue them back in once it dried.
-I would have put down a trash bag to start with and not worn my clean PJ's while I was "moss-ing".
-I would find other places to use moss as a verb.
On Friday I'll finish this up. I can't wait to show you the final product!


No comments:
Post a Comment