
Today, I'll show you how to make the roof. For this, you'll need the following.
Supplies:
-Cutting Mat
-Hobby Knife
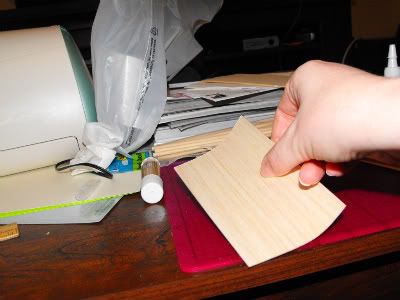
-Thin Balsa; I used the thin 3"x5" "planks" in my handy-dandy balsa grab bag I picked up at Michael's, but I know some stores sell these in larger sizes-- you can cut it down to size yourself really easily. I chose balsa because, even though it's a very weak wood, it's lightweight (therefore reducing the possibility of structural overload) and I could cut it/ manipulate it myself really easily-- no power tools needed.
-Glue-- I used my now-favorite Aleene's Fast Grab Tacky craft glue
-A small box
-Saran wrap
-A glass of Sangria
-Movie of your choice: I watched 27 Dresses (again, I confess!) while doing this.
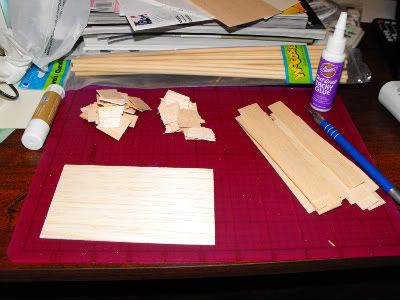
First, I took a few of the planks and broke them up to make shingles. I started by breaking them along the grain in long strips, and then breaking the long strips into pieces about 3/4" long. Don't worry about the ragged edges, unless that's the look you're going for. You could also cut these if you wanted them straight; breaking was faster for me and more in the style I was going for.
You can see the long strips to the right and the growing pile of shingles in the back. I made a LOT of shingles, and still had to stop and make more about 3/4 of the way through. Overestimate how much wood you'll need.
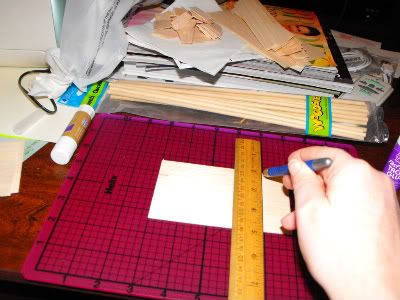
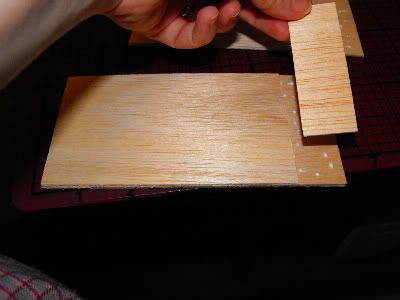
Then I made the base for the roof. I measured my well and figured I'd need about a 6" span to cover it from side to side. My planks were only 5" long, so I had to cut and add a 1" piece to them.
I was going to stack them anyway for added strength, so I staggered the joints and glued three sets of 5" and 1" pieces to each other, with the 1" piece on opposite sides every layer. Note: Don't be shy with the glue! It will also add strength to the wood without adding much weight.
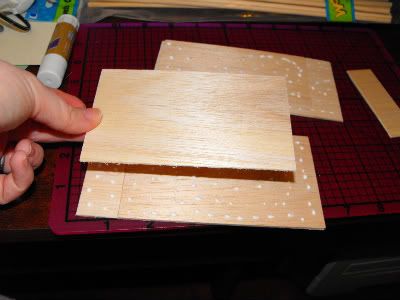
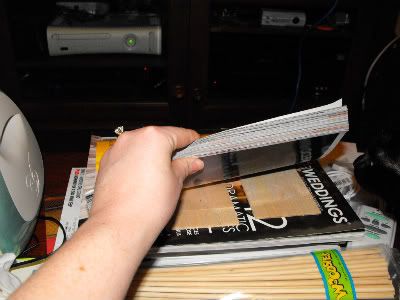
I made two stacks of three layers each, and placed them under some handy bridal magazines to keep them from warping while they dried for a few minutes.
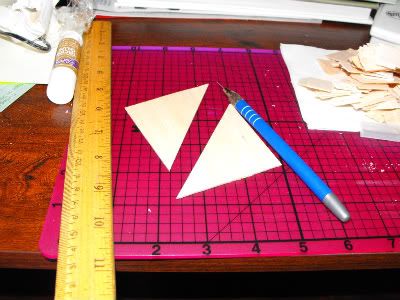
While they dried, I used another two planks to make two 3x3" squares, which I then cut in half to make four triangles. I glued these into stacks of two.
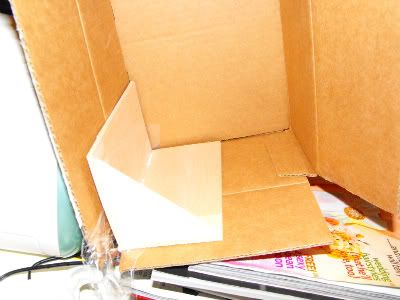
Then I went looking for something square to set this up in while the glue dried a little. It only took me about seven minutes to remember that boxes are, indeed, square. D'oh. I lined the inside of one corner with saran wrap to keep any leaking glue from adhering cardboard to the wood, and glued the two 6"x3" stacks together into a V. I then also glued in the triangles, one at each end. Make sure you glue these about a 1/2" or less from the edge; you want them to be on the outside of the post supports when you attach it to the well.
I let that sit for a good 45 minutes and then it was time for the fun part. I put a line of glue across one side and started gluing on shingles. Note: start at the bottom. I let the rough edges overhang the bottom just enough to hide the flat edge underneath, and let the upper rows overhang the lower ones as I worked my way up. I also didn't really have to worry about the shingles fitting on the roof too much; if I reached the end and needed a narrower one, I could just break it to size.

I did this for both sides all the way to the crest of the roof, and then broke some of the remaining shingles in half, but did not separate the pieces (so they were hinged). I glued these on to the top for a ridge and ta-da:
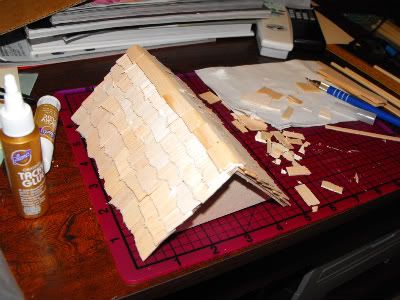
Mini-roof!
Coming up next week: More vendors, and putting the well together.
No comments:
Post a Comment