
This, too, was pretty easy, though somewhat time consuming as I had to hold it all together while it dried. I suggest putting on a movie and having everything you might need for an hour within reach. Or a nearby friend (or fiance) who can take over if you suddenly have to pee.
Supplies:
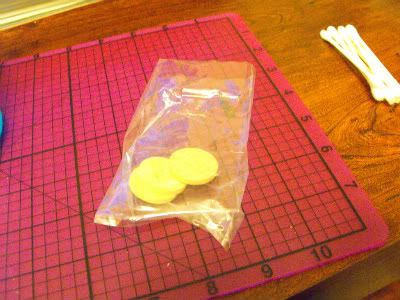
-Small wooden circles, about 3/4"-1" in diameter, or other depending on the size of your well. I got mine at JoAnn's, I'm sure Michael's or similar carries them as well, in the Small Wooden Things section.
-Sticks of balsa about 1/4" by 1/8", but really any rectangular cut of a soft wood would work.
-Aleene's Fast Grab Tacky craft glue. This stuff seriously made a HUGE difference in the amount of time I had to sit there and hold this together.
-Hobby knife and cutting mat
-Craft wire
-Pliers
First I took three of the wooden circles and glued them together into a little sandwich/burger/Oreo/ however you want to think of it. Not all of these were the exact same size, so when I wound up with two slightly larger ones and one slightly smaller one, I put the smaller one in the middle so the pieces of balsa wouldn't taper towards the top. These are the ones I used, you can see they are 1" in diameter.
While they dried, I took some of the craft wire and twisted it into a circle about the size of the wooden circles, but a little smaller-- so it would lie just around the outer edge. I twisted the ends around each other. Then, I took another small piece (about two inches long) and wrapped one end around the wire circle and bent it shut with my pliers, then did the same with the other end on the opposite side of the wire circle, and bent up the middle to make a handle for my bucket. I didn't take any pictures of this part because I needed eighty hands, but you'll see it in a minute.
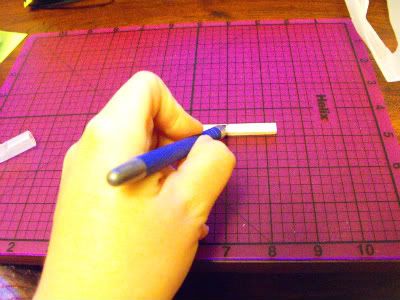
I also began to cut up my balsa pieces into 1 1/4" strips. I tried to get the ends as even and flat as possible, but the unevenness of a few of them adds character to my bucket. Or at least that's what I'm telling myself.
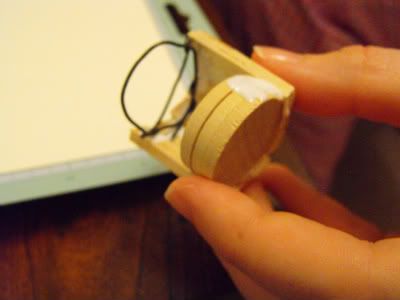
Here you can see me holding the bucket about halfway through. This is why I used three wooden circles for the middle instead of one-- it made it WAY easier for the outer pieces to stay upright-- without the extra support, they wanted to sag all over the place. About halfway through, I also glued the wire circle in with the handle upright.
I kept gluing the sticks in place until I wound up with this:
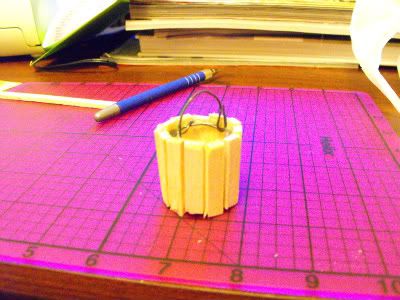
Ta-da! A little tiny bucket. We loveses it, precious. . .
*Ahem*. I mean, it's cute. Yeah. (You'll notice I have a thing for mini and cute).
Notes: Once the outer planks were all in place, I glued the rest of the metal wire down, but then had to sit and hold the whole thing while it dried because the handle kept slipping down into the bucket and if I just let it, it would have dried crooked (and bugged me to no end), so I definitely recommend having some free time.
Learn from my mistakes:
-Give yourself plenty of time to let the glue dry between pieces of wood. Use a Fast Grab glue or similar to cut down on this time.
Variations:
-Well, there are plenty of variations. The main one I can think of is putting some wire around the outside once the whole thing has completely dried. A ring of wire on top and on bottom, twisted to put a little pressure on the balsa, would give it that authentic, strapped bucket look. I may still do this to mine. But, you will still need the internal metal ring for support and to attach the handle to.
No comments:
Post a Comment